.svg)
Loads More Options...
UK Parcel Delivery
- Drop-Off Services
- Collection Services
- Same-Day Delivery
- Next-Day Delivery
- 2 to 3 Day
- 3 Days Plus
- Pallet Delivery
- Special Delivery
- Letters & Small Parcels
- Heavy Parcels
- Large Parcels
- Small Parcels
- Postage Costs
- All UK Delivery Services
- Send a Parcel
- No Printer Courier Services
- Advice on My Parcel Delivery
International Parcel Delivery
Our Range of Courier Services
About Parcel2Go.com
Parcel Delivery Tools
Choose Your Country
How do I use the Rule Manager?
The Rule Manager has been created to give you full control of your imported items. In this guide we’ll give you a breakdown of how to create your first rules and explanations of what ‘Conditions’ and ‘Actions’ are.
Scroll down if you’d like a step-by-step guide.
Step 1
Go to ‘Settings’ within the top navigation and click on ‘Rule Manager’.
Step 2
If you have never seen the rule manager before you will be taken through a simple guide which will help you set your first rules. Simply click ‘Get Started’ or skip the guide to dive right into the Rule Manager.
Step 3
Whether you have created some defaults (using the guide) or not, when you arrive at the Rule Manager, you will see two sections. The first section displays all the rules you have created. These will be either ‘Active’ or ‘Paused’.
- Active Rules - These rules will apply immediately to any item the conditions match
- Paused Rules - These rules are essentially rules you have created but are saving for later.
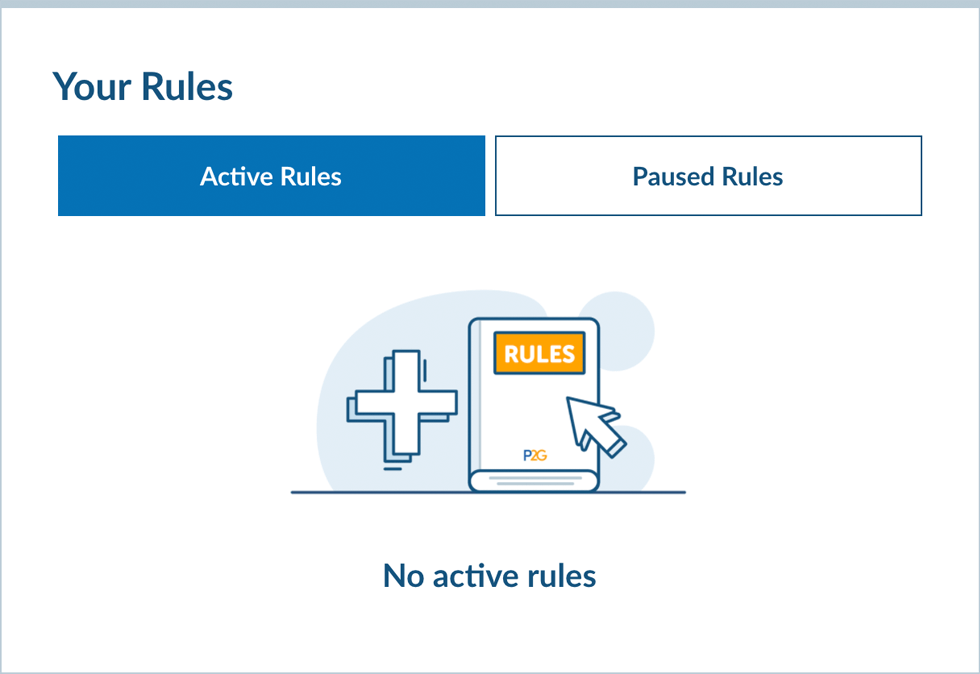
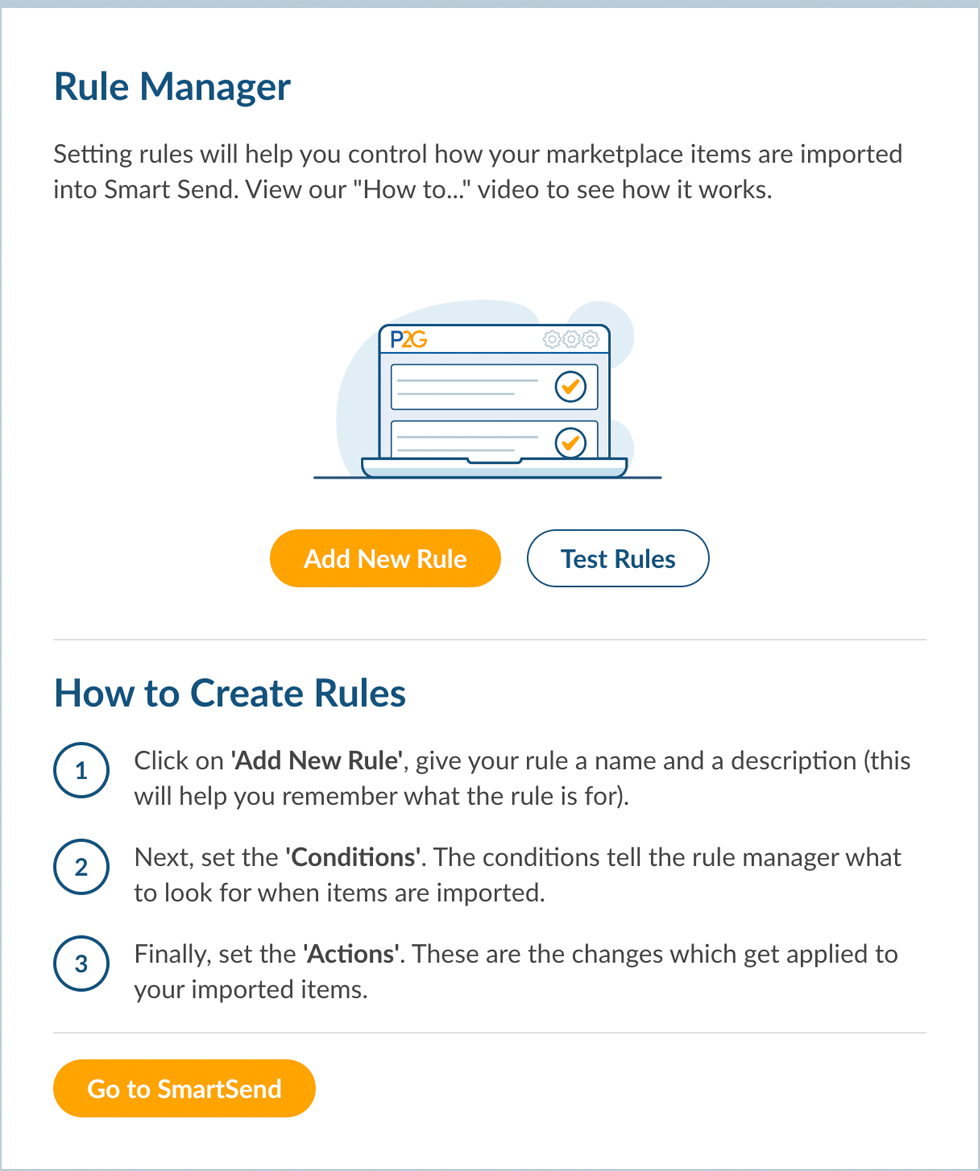
The second section talks you through what the rule manager is and explains how it will work. To begin creating rules, click on the ‘Add New Rule’.

Click on 'Link New Account' on the sales channel you require or 'Upload a Spreadsheet' if you're using a CSV file. Follow the detailed instructions on the next page.
Step 4
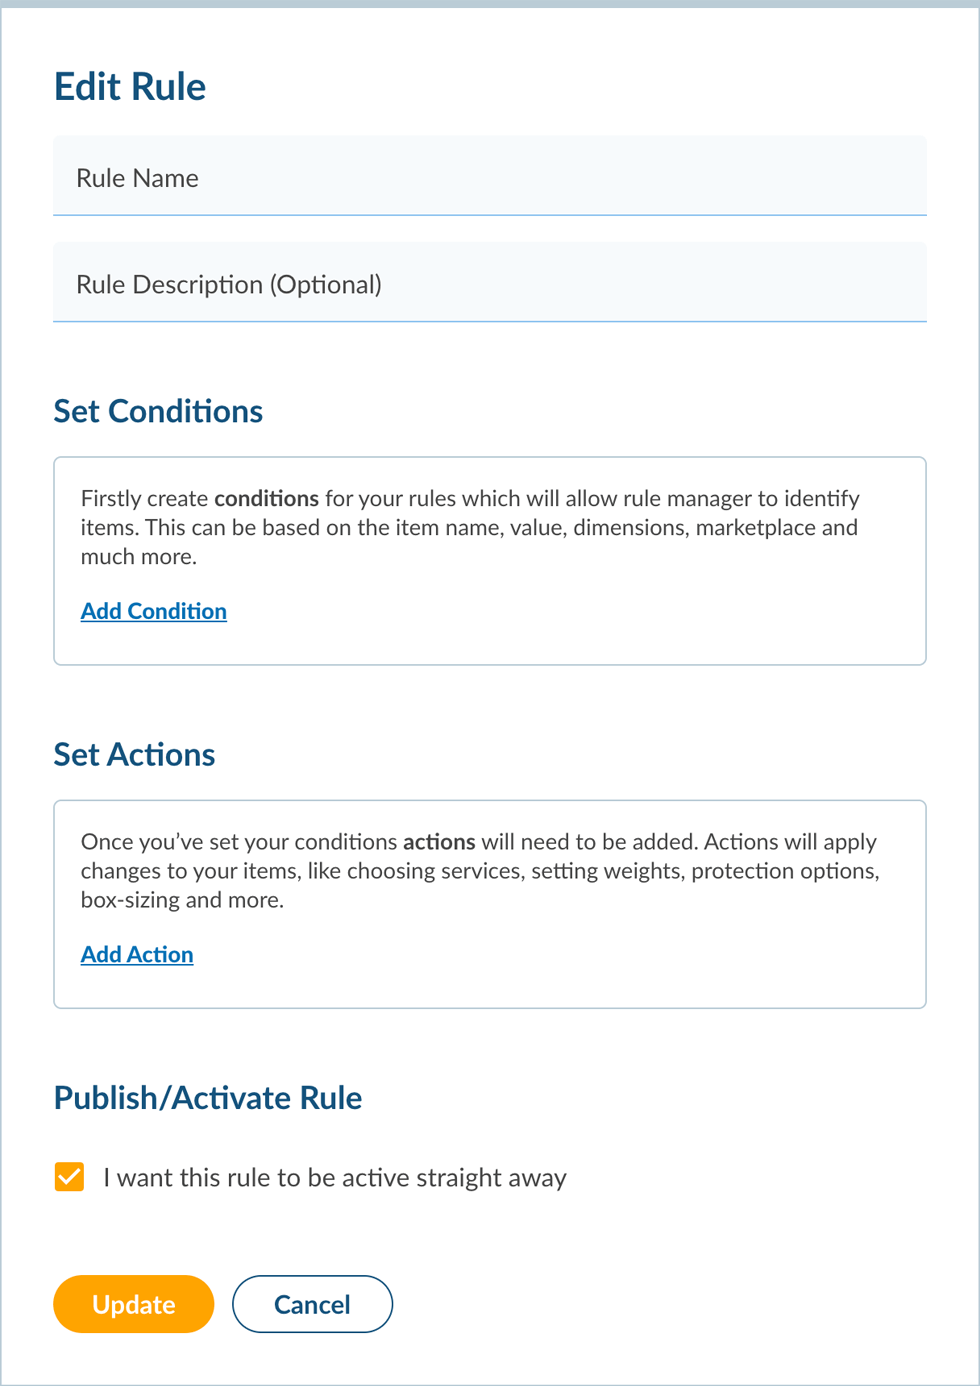
When setting your rule give it a name. You can also set a description, this is optional. Using the description is a great way to remind yourself of what the rule has been created for. As an example enter the following details:
- Rule Name - £30 eBay Items
- Description - Add parcel protection to all eBay items with a value of £30 or more
Step 5
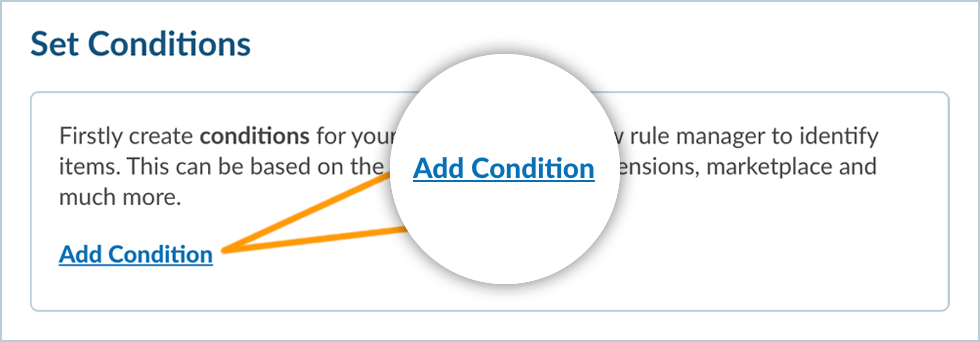
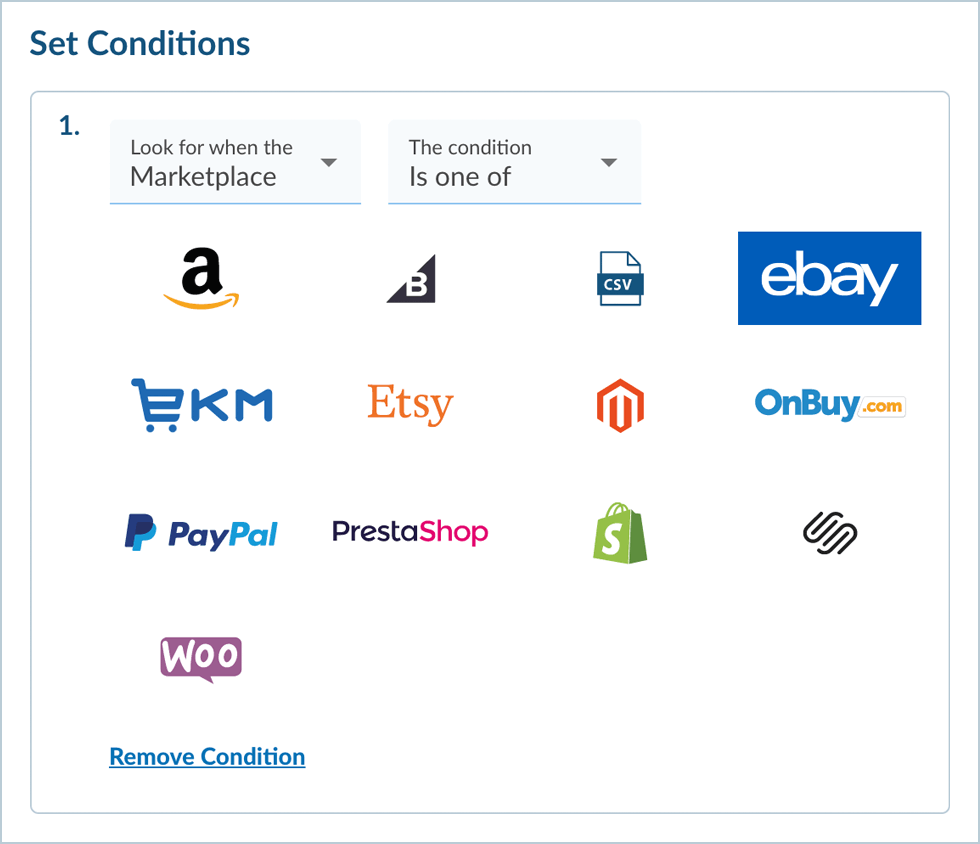
Now we’ve set the name and description, lets create that rule. The conditions we are about to set will tell the Rule Manager what to look for when your items are imported. Go down to ‘Set Conditions’ and click ‘Add Condition’.
In the first form field choose ‘Marketplace’ from the dropdown. In the second form field make sure ‘The Condition’ says ‘Is one of’. Click the eBay logo. Once clicked it will change colour to blue which indicates it has been selected.
Click on ‘Add Another Condition’. This time choose ‘Item Value’ from the first form field. Secondly choose ‘Is more than or equal to’ from the second form field . Now enter the value, in this case it should be 30.
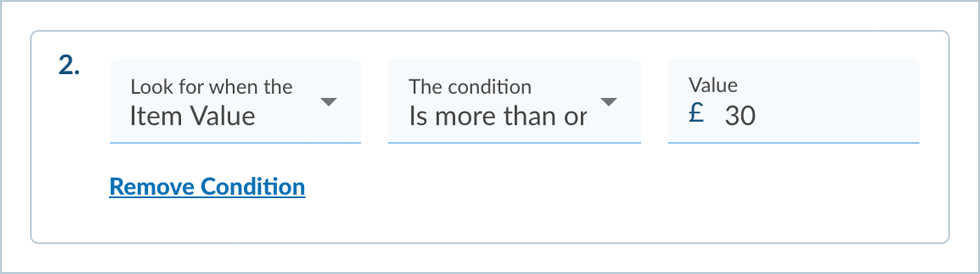
You have now set the ‘Conditions’. The Rule Manager will look for these when your items are imported.
To find out more about ‘Conditions’ click here.
Step 6
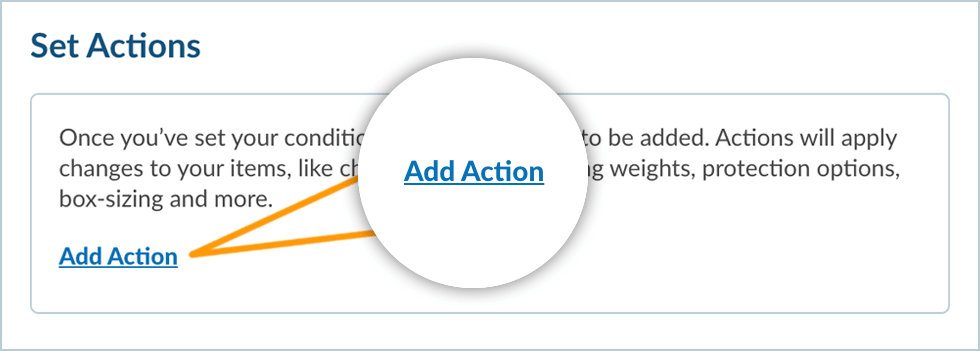
Now it’s time to tell the Rule Manager what to do with these conditions. Move down to the ‘Set Actions’ section and click on ‘Add Action’.
In the first form field ‘Action to the’ choose ‘Full Parcel Protection’ from the dropdown. In the second form field choose ‘Include’.
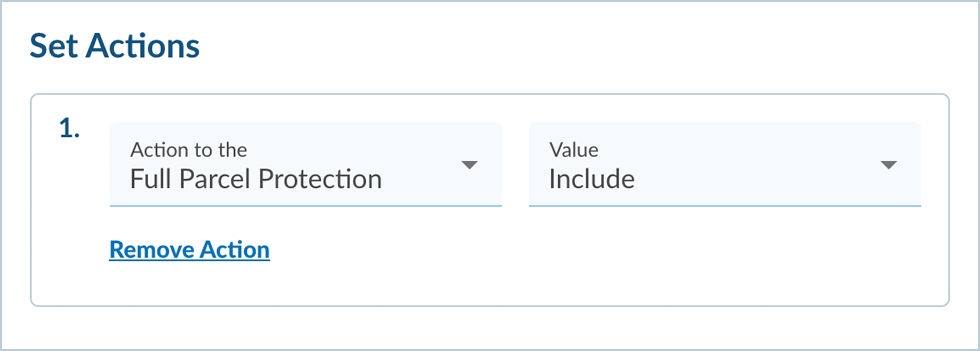
You have now set the ‘Actions’. The Rule Manager will apply this to the condition you have created.
To find out more about ‘Actions’ click here.
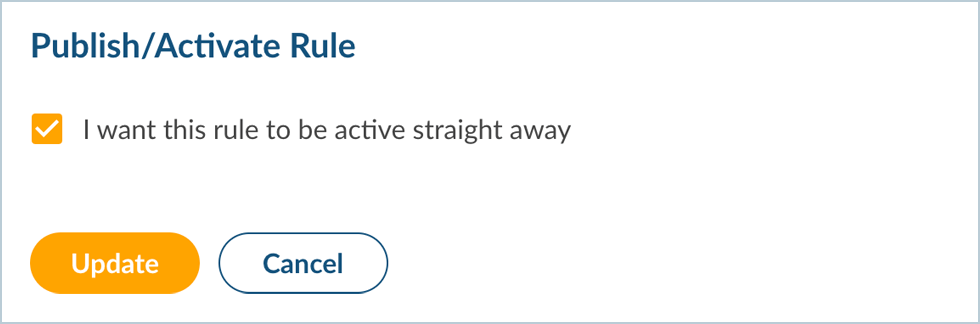
Step 7
Once you have completed the ‘Conditions’ and ‘Actions’ you can make the rule active straight away by clicking on ‘Update’. To save this rule without it going live de-select the checkbox. This rule will then by saved within the ‘Paused Rule’ tab.
To find out more about ‘Conditions’ and ‘Actions’ click here.